Quarantine Crafts: Birdhouse!!
This past spring and summer have been very unorthodox to what we've all been used to. As we're all cooped up in our house, Schneller&co. is making a new series called Quarantine Crafts to give our customers ideas on how to better pass the time!!
A Birdhouse
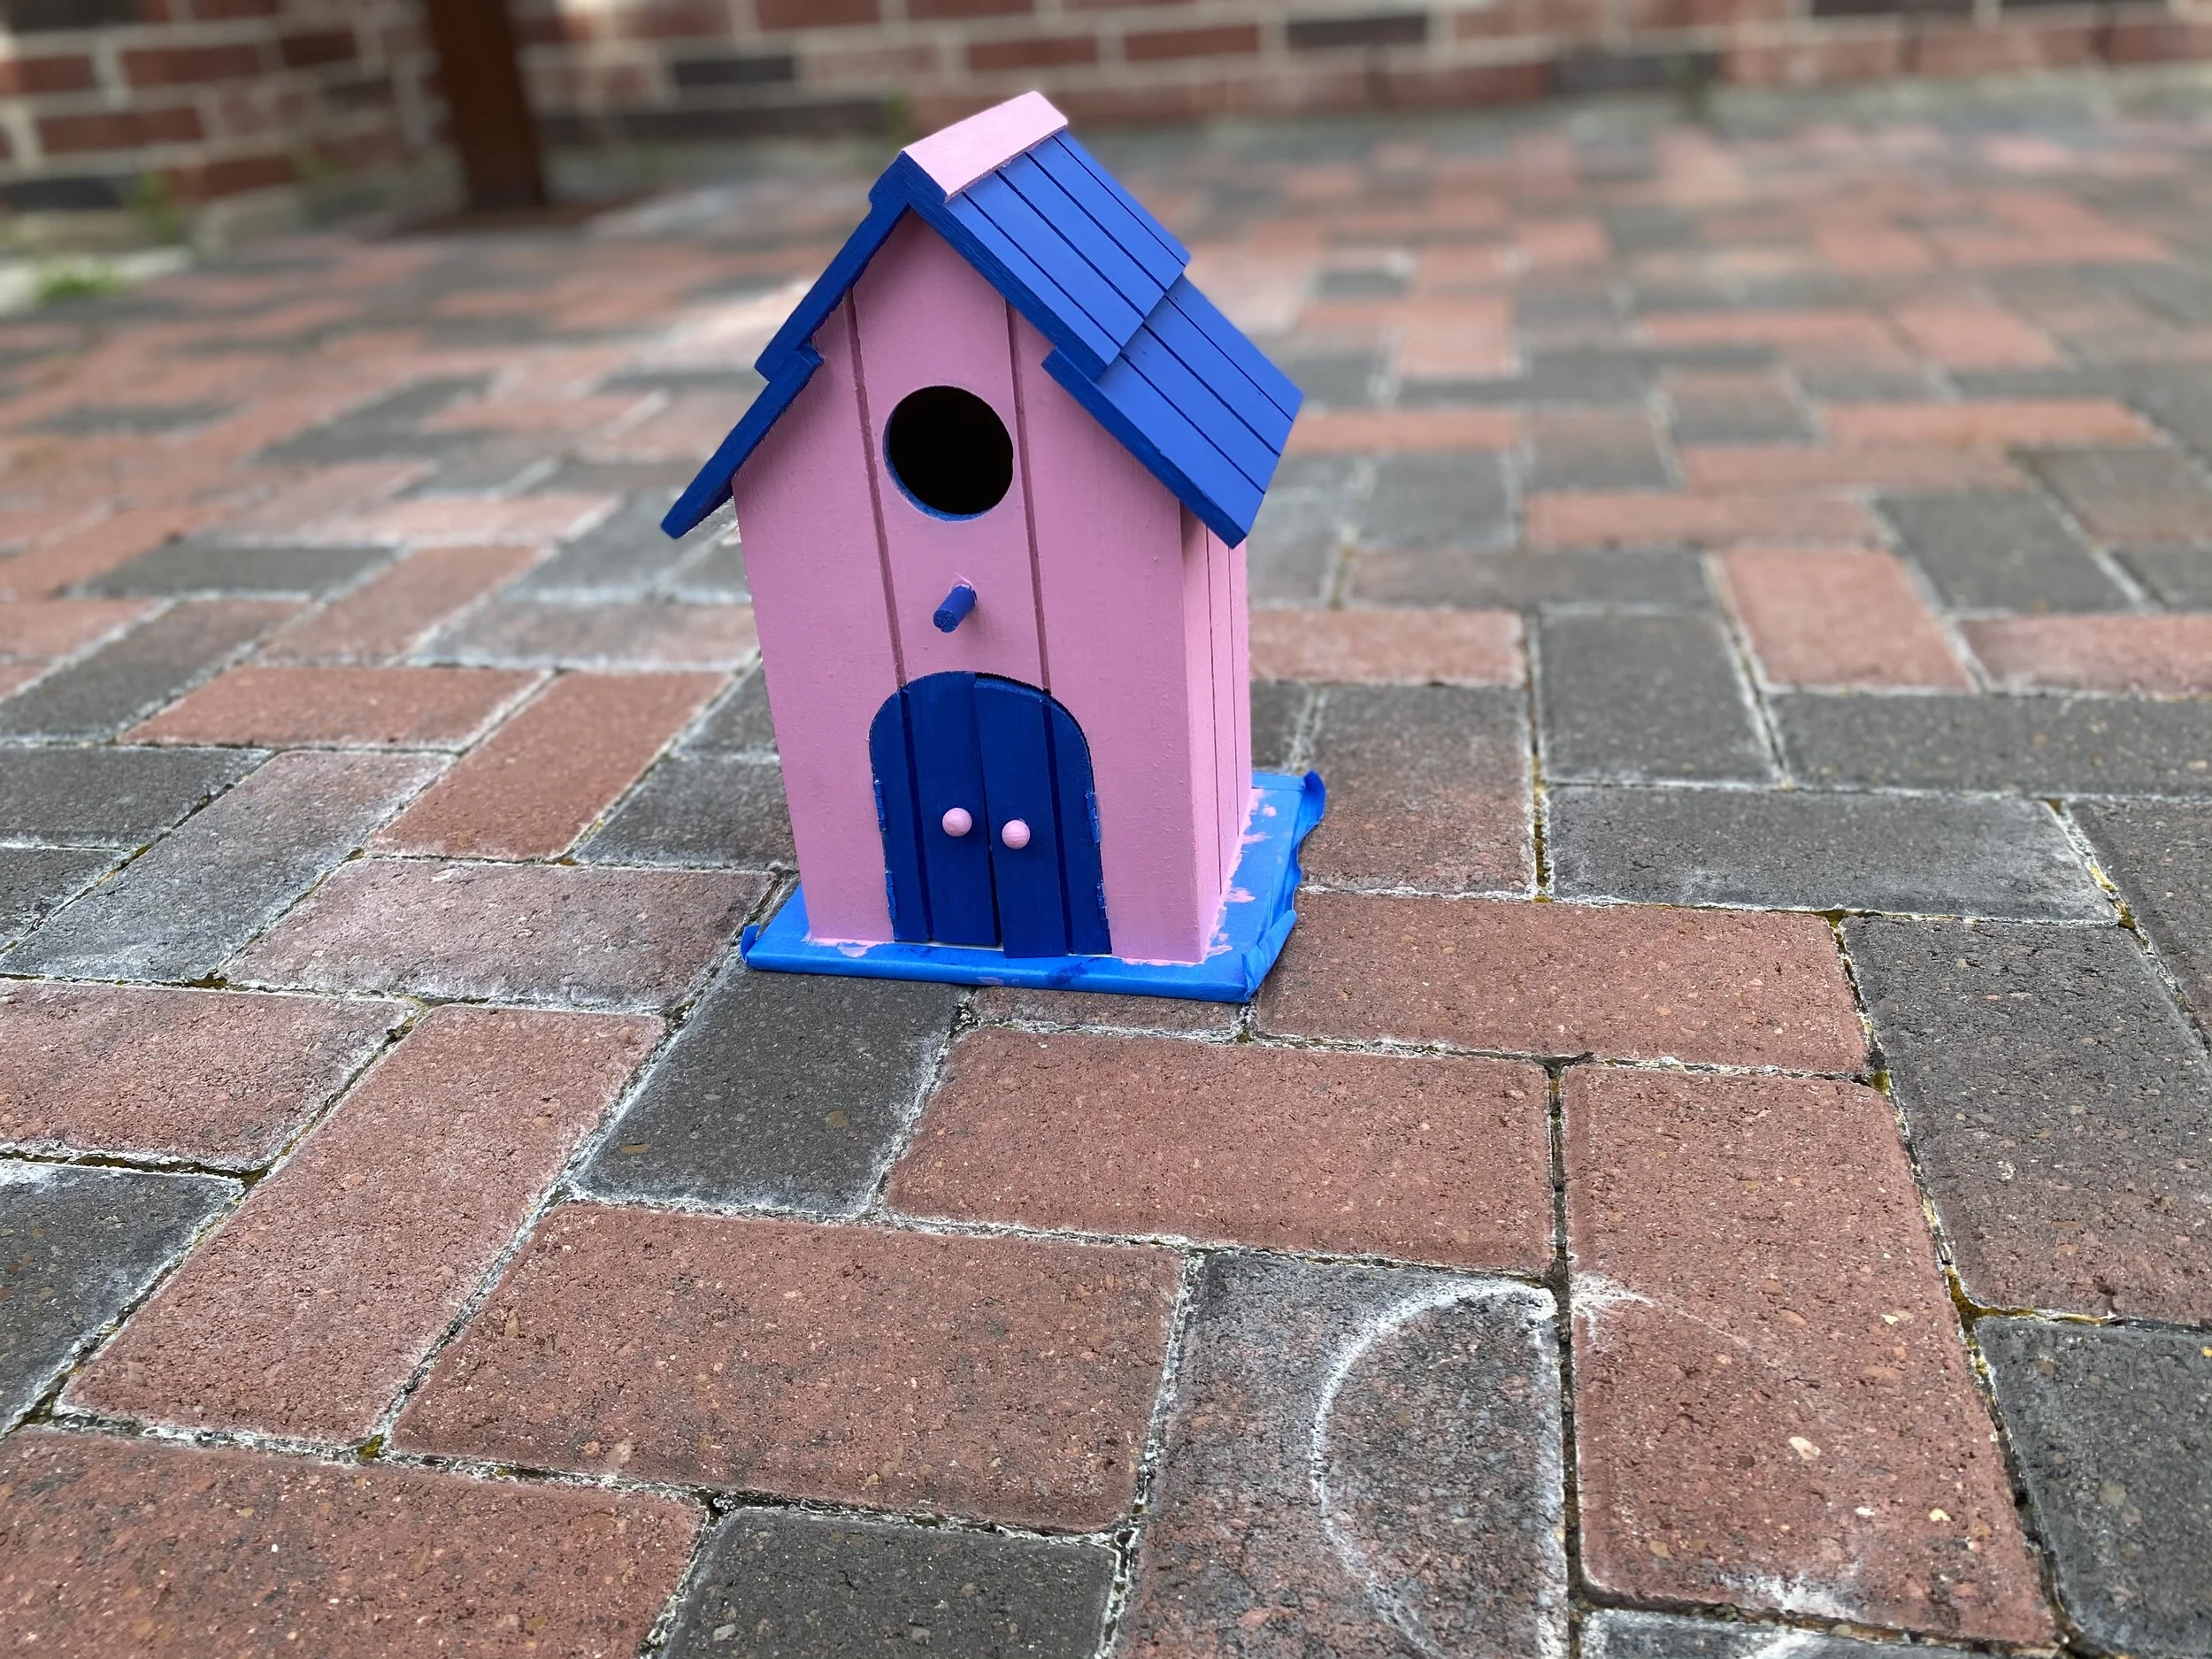
Whether you have birds flying around your house or want to do a fun activity, painting a birdhouse is perfect for you. Today, I will be giving you a play by play on how I painted the enclosure seen above. First, we need supplies…
Supplies:
A premade birdhouse from any craft store near you (the birdhouse above is from Michaels)
White, Rust-Oleum American Accents 2X Ultra Cover, Primer Spray
3 Apple Barrel Paints in the shades Pink Polish, Spring Green, and Too Blue
1 Artist’s Loft Paint in the shade Vermillion
Various Paintbrushes, in a variety of thicknesses for better and more precise coverage (all brushes used are from Artist’s Loft)
Step 1: Primer
Using the White, Rust-Oleum American Accents 2X Ultra Cover, Primer Spray, thoroughly coat the exterior of the birdhouse for the paint to better apply onto the pinewood and wait to dry before starting Step 2.


Step 2: The Roof
The roof is the simplest portion of this project, with dark blue being used on the shingles that took around three coats to make a solid cover. Additionally, a light pink was used on the center of the roof to add a light and dark contrast to the birdhouse.


Step 3: Walls, Doors, and Bird Peg
To continue the color contrast, the pink and the blue are used when painting the primary pieces of the birdhouse. Blue: bird peg, door, and the sides of the bird-window. Pink: door handle and walls. Every section took roughly three to four coats.


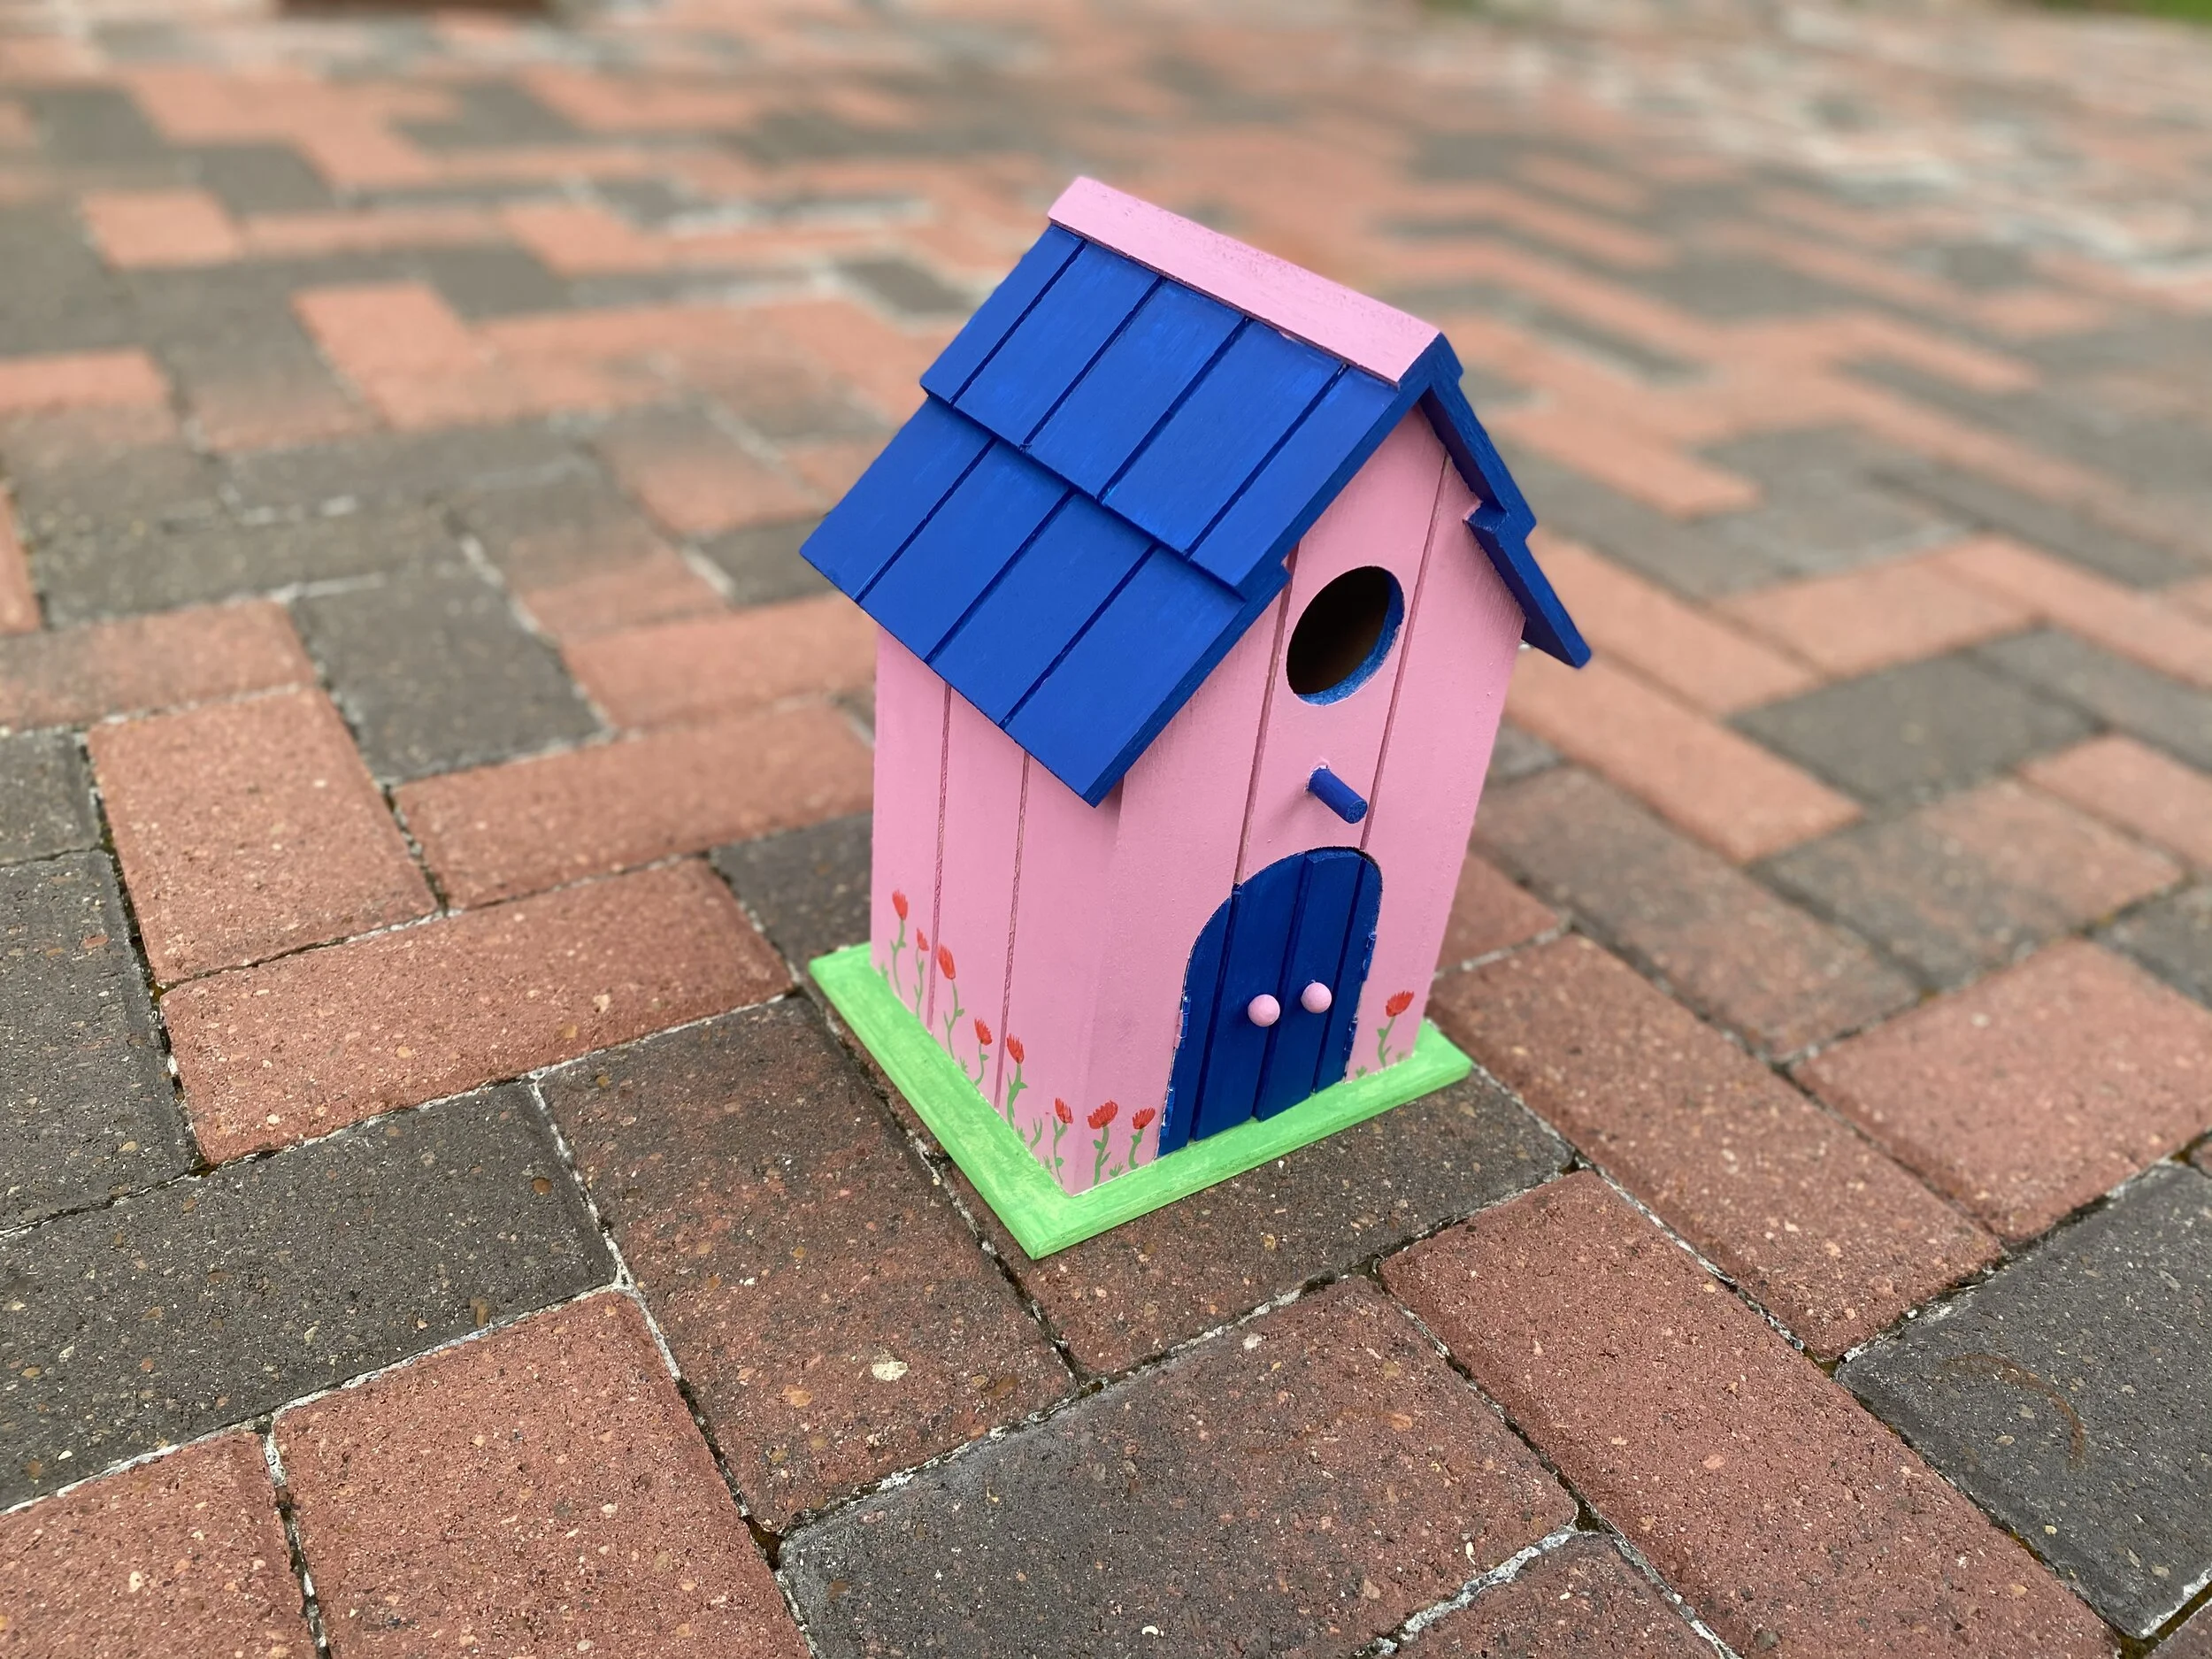
Step 4: Detailing and Flooring
And last, but certainly not least, detailing!! Paint red tulips(or any other color/flower) to add more life to the birdhouse and evenly transition from such drastic colors. To paint the red tulips, use a thin brush to create the stems and petals, do different variations of lines (straight or squiggly depends on preference). Secondly, for the pedals, paint a "U" shape and delicately paint lines to fill it in. The ground, plant, and flowers all took one coat.


If a customer of ours decides to follow this project idea, make sure to comment below and let us know how it went!! We, at Schneller&co. hope you enjoyed this week's blog post and hope to see you again. Stay safe, and wash your hands.